Building Your App
There are four key components you’ll need to represent in the UI for your users.- Purchase Preview - a visual explanation of what they are buying and the price
- Wallet Connection - cross-chain payments will require the ability to connect a wallet
- Payment Status - keeping the user updated about the payment acceptance
- Delivery Status - progress of delivery and information upon completion/failure
Purchase Preview
It is common to create an order upon initial render for your user, and then update the details of that order as the adjustments are made by the user. You’ll need to create a function in your application that can call the create-order API and save the response.- Preview Screenshot
- Code Snippet
After you create the 
order you’ll get back metadata related to the collectionId you pass in the create-order call. You can use this metadata to build the preview highlighted in the screenshot below.Wallet Connection
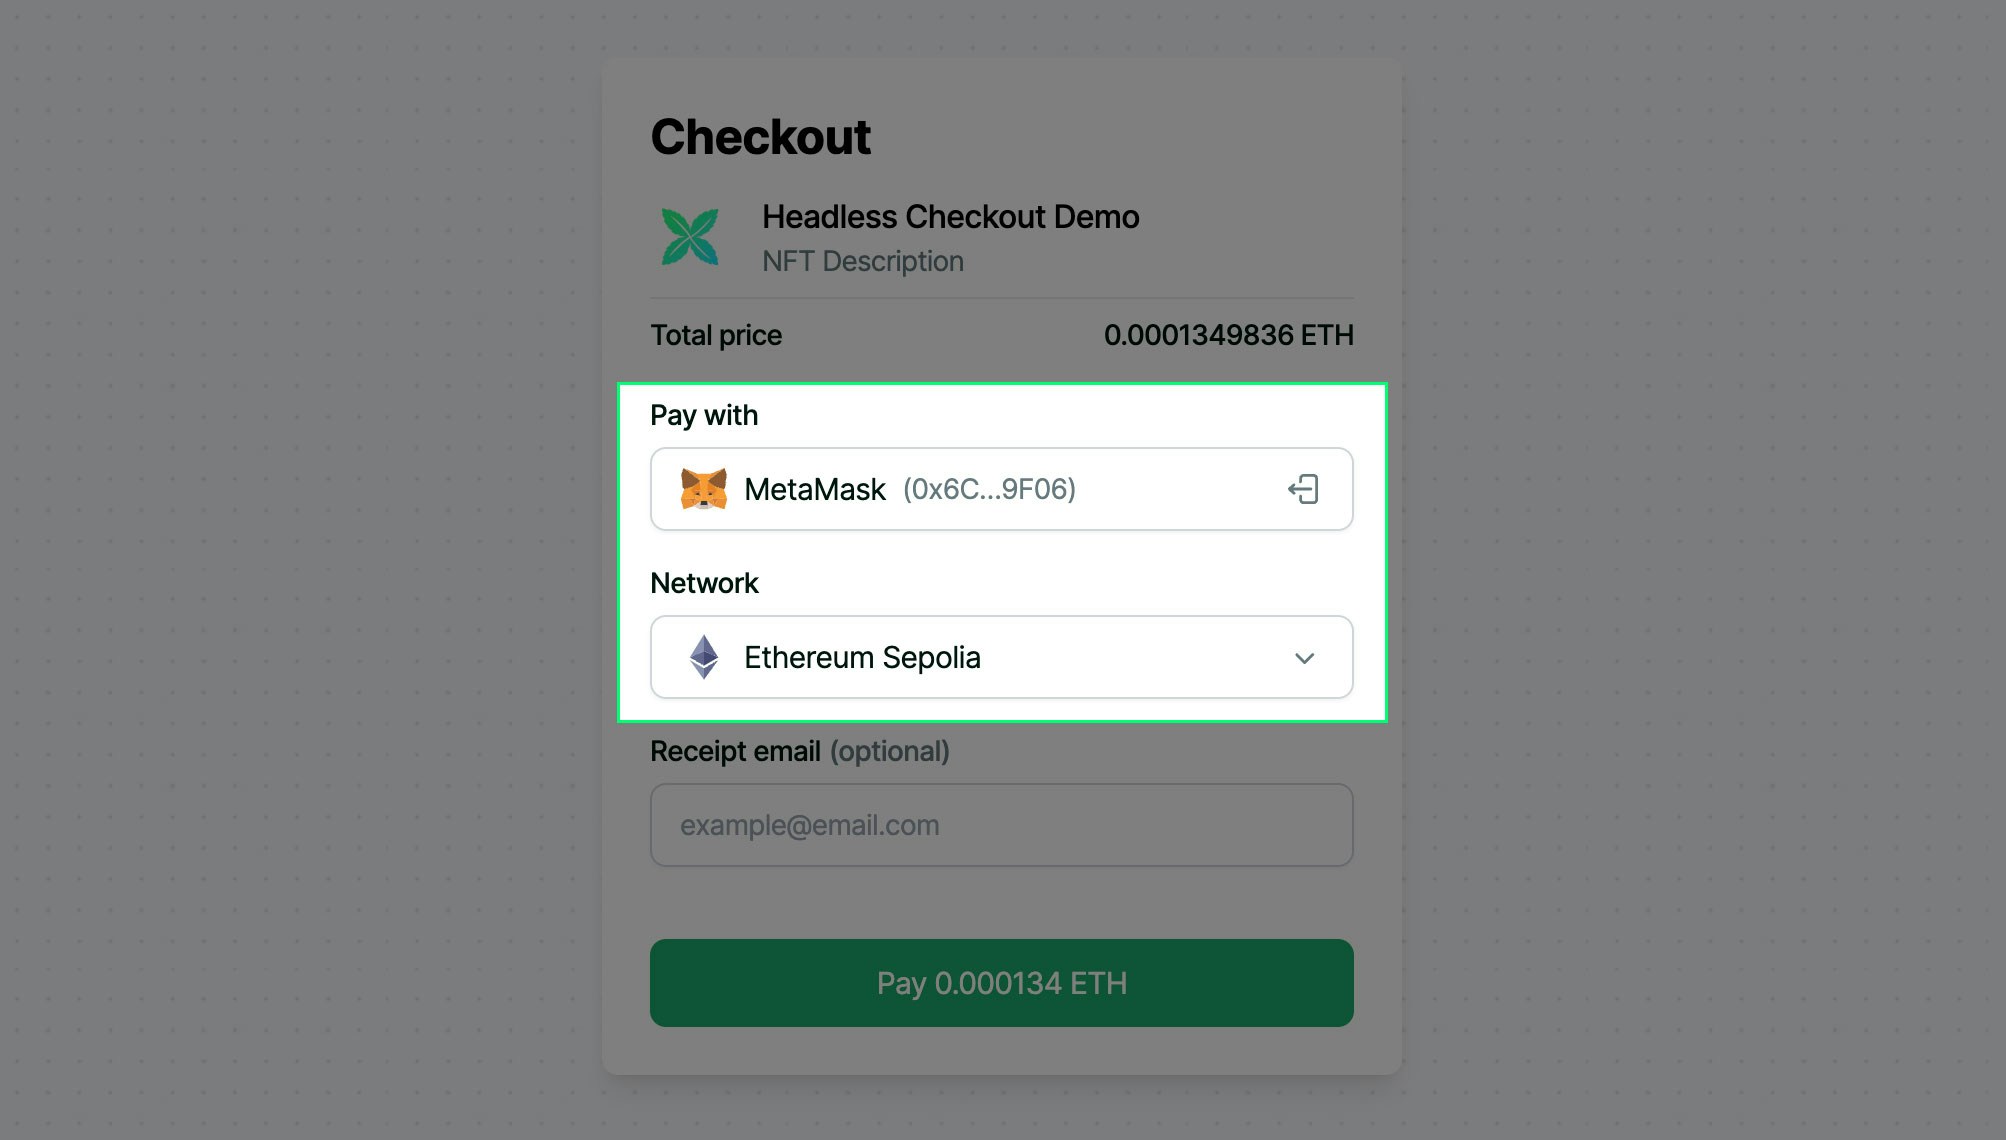
To enable the cross-chain payments feature, you’ll need to provide an easy way for users to connect their wallet. This guide will not go into detail about how to add any specific tools, since there are a variety available and the implementation of each is unique to the tool. However, you will want to set up your app to listen for changes to the primary connected wallet and selected network so that the order is updated automatically.- Wallet & Network Screenshot
- Code Snippet
Once the user has connected their wallet they might still change the primary connected account or network. You need to listen for these changes and update the order.