Create a Server-side Key
Navigate to the API Keys section of the developer console and click the “Create new key” button in the server-side keys section.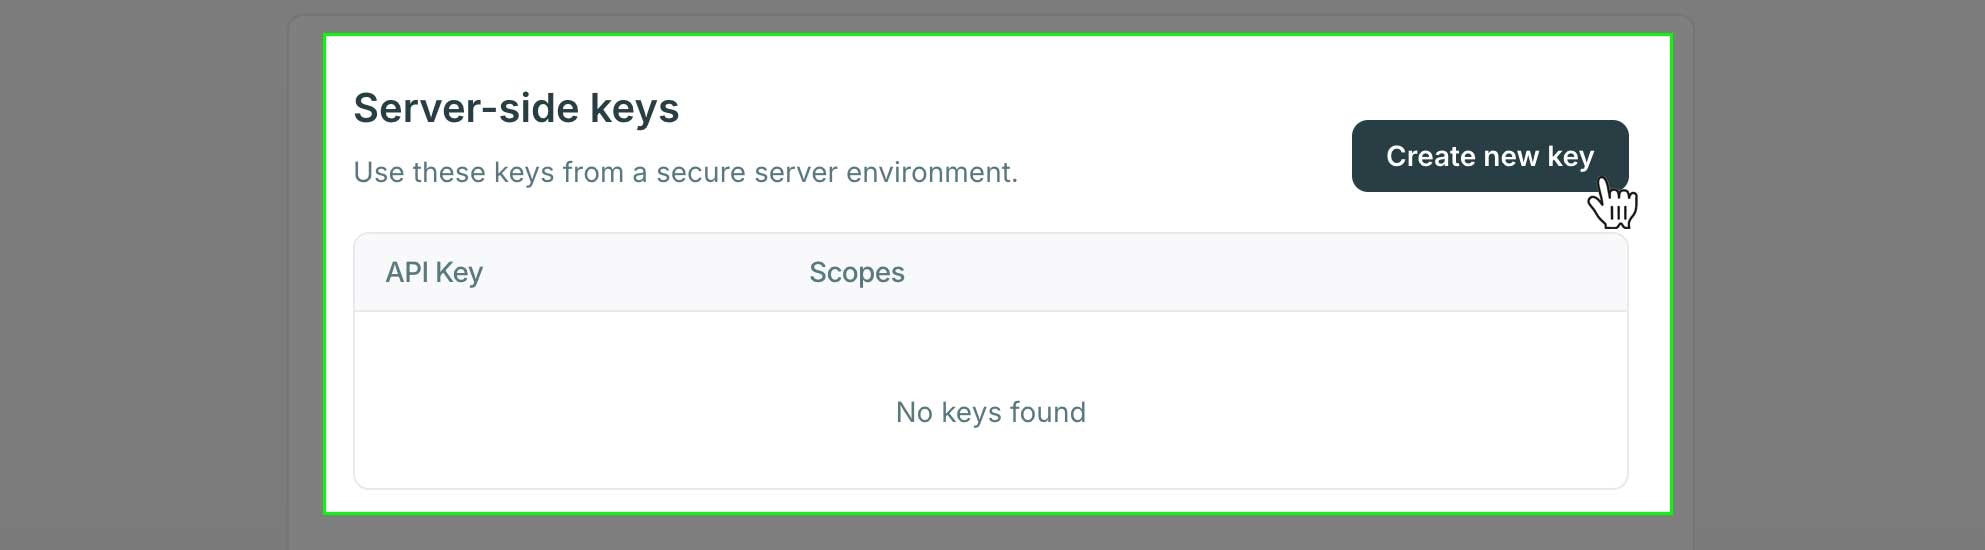
Select Scopes
Production server-side keys follow a “view once” policyWhen you create a server-side API key in the production environment, the key secret will only be shown once during creation. After you close the dialog or navigate away, you will not be able to view the key secret again.

API Scopes
Complete list of available API scopes
API Reference
Detailed docs for all API endpoints
Using a Server-side Key
If you’re using the API Playground you can add your API key in the Authorization section and this will set it as a header when making the request.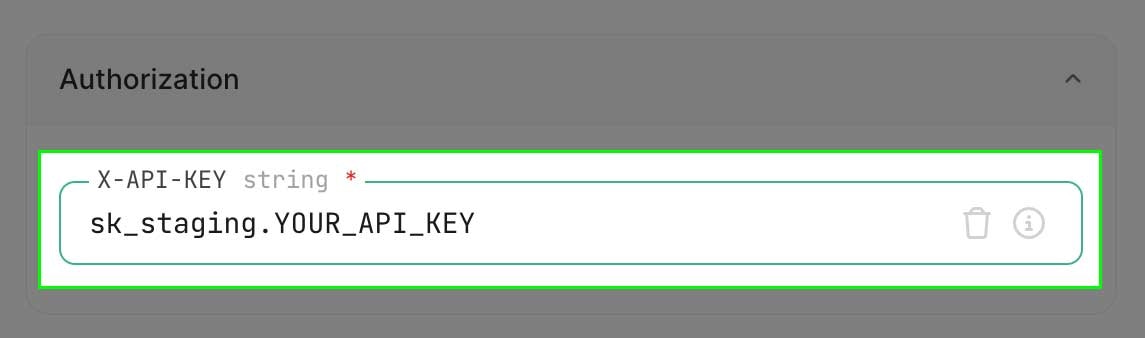
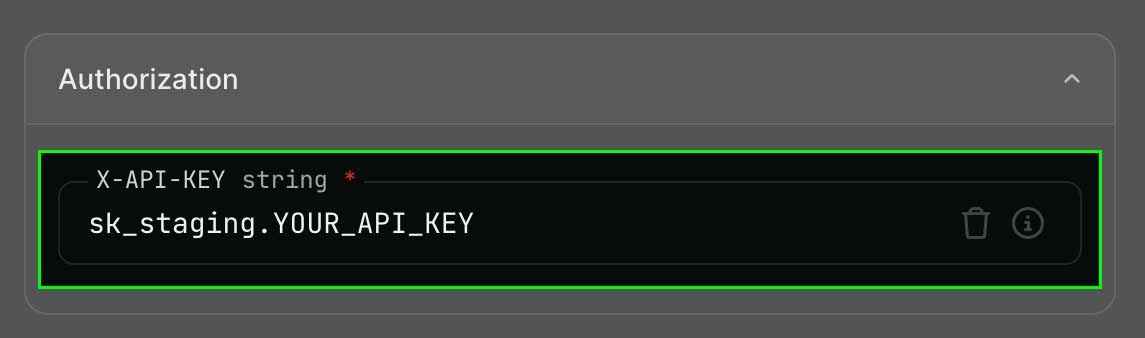
X-API-KEY header however the target language or library expects it. See some examples below: