import { useState } from "react";
import { View, Text, TextInput, TouchableOpacity, StyleSheet, ActivityIndicator } from "react-native";
import { CrossmintProvider, CrossmintEmbeddedCheckout } from "@crossmint/client-sdk-react-native-ui";

const CLIENT_API_KEY = process.env.EXPO_PUBLIC_CROSSMINT_CLIENT_SIDE_API_KEY || "";
const API_URL = "http://localhost:3000"; // Replace with your backend URL

// Destination wallets for testing transfers on each network
const TEST_WALLETS = {
    solanaDevnet: "<destination_wallet_address>",
    baseSepolia: "<destination_wallet_address>",
    stellarTestnet: "<destination_wallet_address>",
};

type Chain = "solanaDevnet" | "baseSepolia" | "stellarTestnet";

export default function OnrampScreen() {
    const [order, setOrder] = useState<{ orderId: string; clientSecret: string } | null>(null);
    const [chain, setChain] = useState<Chain>("solanaDevnet");
    const [email, setEmail] = useState("user@example.com");
    const [wallet, setWallet] = useState(TEST_WALLETS.solanaDevnet);
    const [amount, setAmount] = useState("5");
    const [isLoading, setIsLoading] = useState(false);

    function handleChainChange(newChain: Chain) {
        setChain(newChain);
        setWallet(TEST_WALLETS[newChain]);
    }

    async function handleSubmit() {
        setIsLoading(true);
        try {
            const response = await fetch(`${API_URL}/api/create-order`, {
                method: "POST",
                headers: { "Content-Type": "application/json" },
                body: JSON.stringify({ walletAddress: wallet, receiptEmail: email, amount, chain }),
            });
            if (!response.ok) {
                throw new Error("Failed to create order");
            }
            const result = await response.json();
            setOrder({ orderId: result.order.orderId, clientSecret: result.clientSecret });
        } catch (error) {
            console.error("Failed to create order:", error);
        } finally {
            setIsLoading(false);
        }
    }

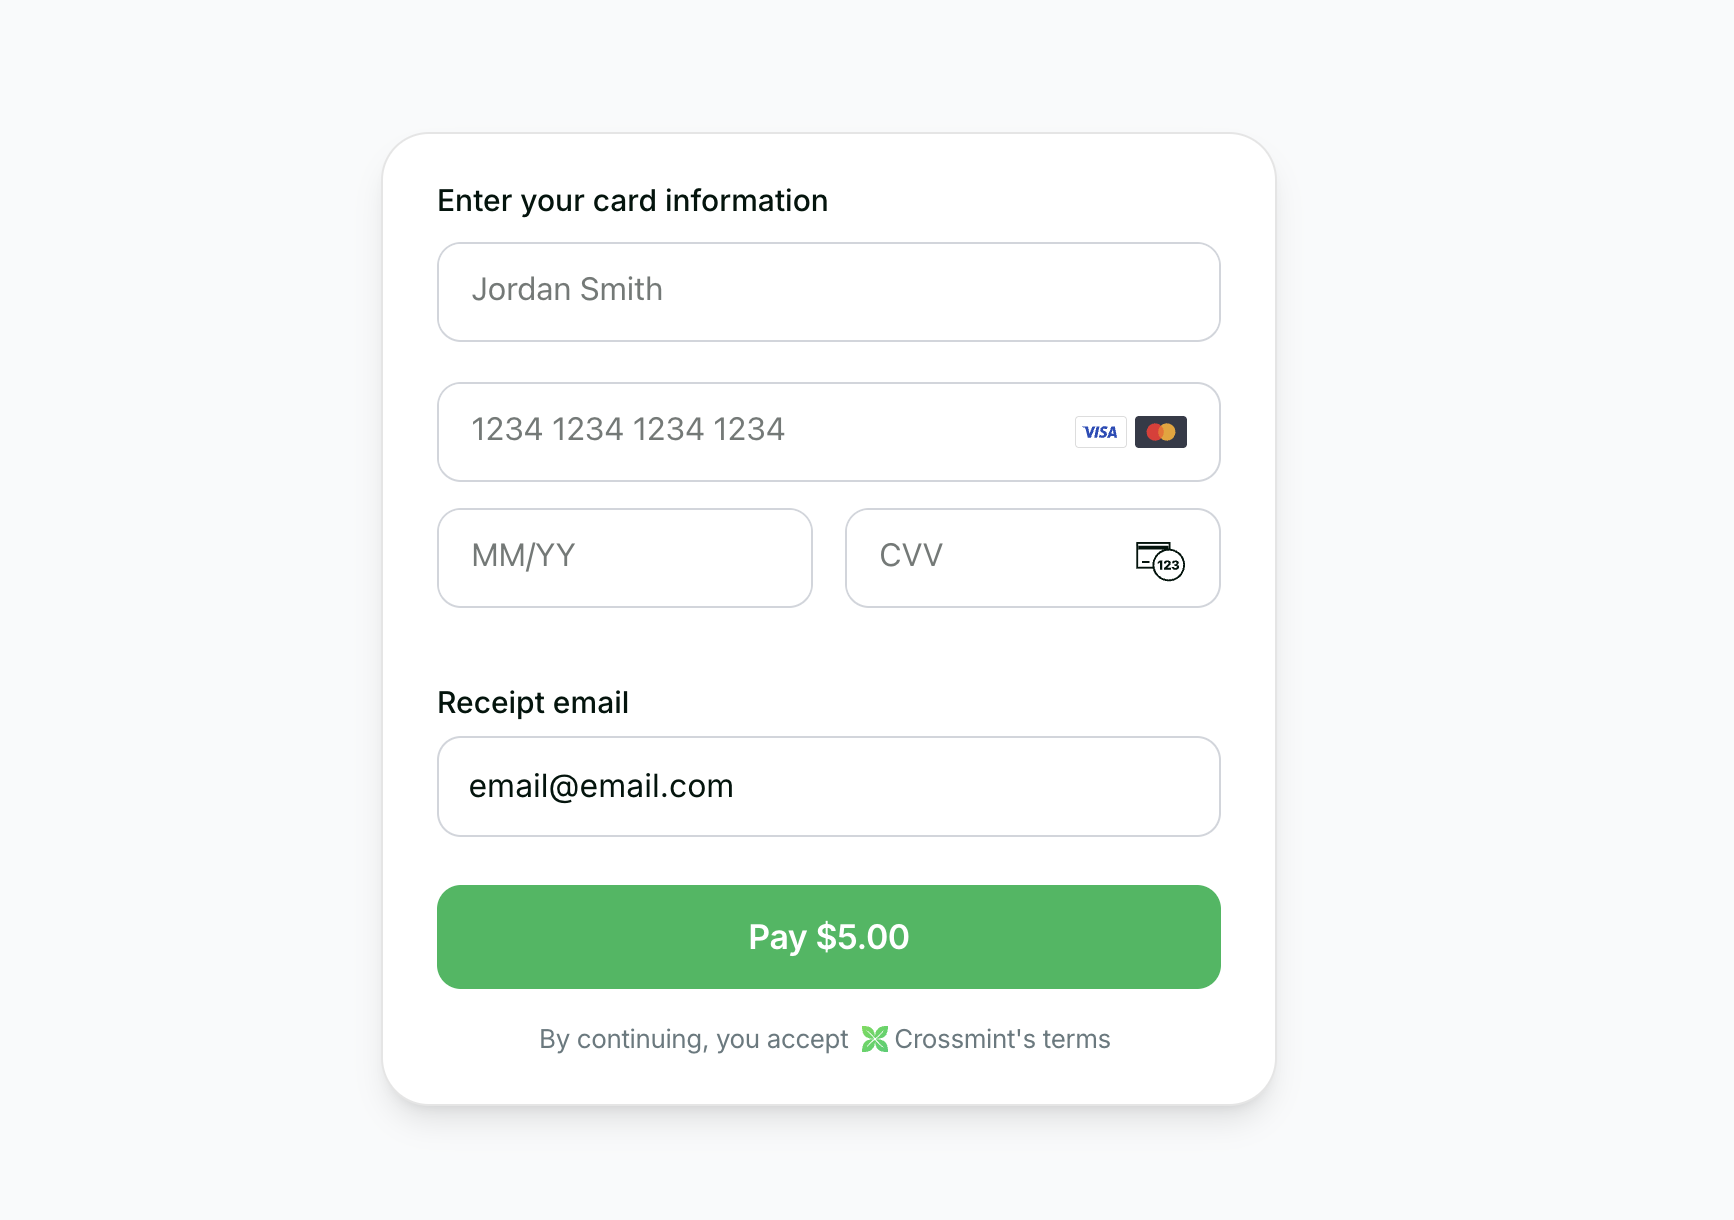
    if (order != null) {
        return (
            <CrossmintProvider apiKey={CLIENT_API_KEY}>
                <View style={styles.checkoutContainer}>
                    <CrossmintEmbeddedCheckout
                        orderId={order.orderId}
                        clientSecret={order.clientSecret}
                        payment={{
                            receiptEmail: email,
                            crypto: { enabled: false },
                            fiat: { enabled: true },
                            defaultMethod: "fiat",
                        }}
                    />
                </View>
            </CrossmintProvider>
        );
    }

    return (
        <View style={styles.container}>
            <Text style={styles.title}>Buy USDC</Text>

            <View style={styles.fieldGroup}>
                <Text style={styles.label}>Network</Text>
                <View style={styles.toggleRow}>
                    <TouchableOpacity
                        style={[styles.toggleButton, chain === "solanaDevnet" && styles.toggleButtonActiveSolana]}
                        onPress={() => handleChainChange("solanaDevnet")}
                    >
                        <Text style={[styles.toggleText, chain === "solanaDevnet" && styles.toggleTextActive]}>
                            Solana Devnet
                        </Text>
                    </TouchableOpacity>
                    <TouchableOpacity
                        style={[styles.toggleButton, chain === "baseSepolia" && styles.toggleButtonActiveBase]}
                        onPress={() => handleChainChange("baseSepolia")}
                    >
                        <Text style={[styles.toggleText, chain === "baseSepolia" && styles.toggleTextActive]}>
                            Base Sepolia
                        </Text>
                    </TouchableOpacity>
                    <TouchableOpacity
                        style={[styles.toggleButton, chain === "stellarTestnet" && styles.toggleButtonActiveStellar]}
                        onPress={() => handleChainChange("stellarTestnet")}
                    >
                        <Text style={[styles.toggleText, chain === "stellarTestnet" && styles.toggleTextActive]}>
                            Stellar Testnet
                        </Text>
                    </TouchableOpacity>
                </View>
            </View>

            <View style={styles.fieldGroup}>
                <Text style={styles.label}>Email</Text>
                <TextInput
                    style={styles.input}
                    value={email}
                    onChangeText={setEmail}
                    keyboardType="email-address"
                    autoCapitalize="none"
                />
            </View>

            <View style={styles.fieldGroup}>
                <Text style={styles.label}>Recipient Wallet</Text>
                <TextInput
                    style={[styles.input, styles.monoInput]}
                    value={wallet}
                    onChangeText={setWallet}
                    autoCapitalize="none"
                />
            </View>

            <View style={styles.fieldGroup}>
                <Text style={styles.label}>Amount (USD)</Text>
                <TextInput
                    style={styles.input}
                    value={amount}
                    onChangeText={setAmount}
                    keyboardType="numeric"
                />
            </View>

            <TouchableOpacity
                style={[styles.submitButton, (isLoading || !email || !wallet) && styles.submitButtonDisabled]}
                onPress={handleSubmit}
                disabled={isLoading || !email || !wallet}
            >
                {isLoading ? (
                    <ActivityIndicator color="#fff" />
                ) : (
                    <Text style={styles.submitButtonText}>Continue to Checkout</Text>
                )}
            </TouchableOpacity>
        </View>
    );
}

const styles = StyleSheet.create({
    container: {
        flex: 1,
        padding: 24,
        backgroundColor: "#fff",
    },
    checkoutContainer: {
        flex: 1,
        backgroundColor: "#fff",
    },
    title: {
        fontSize: 24,
        fontWeight: "600",
        color: "#111",
        marginBottom: 24,
    },
    fieldGroup: {
        marginBottom: 20,
    },
    label: {
        fontSize: 14,
        fontWeight: "500",
        color: "#111",
        marginBottom: 8,
    },
    toggleRow: {
        flexDirection: "row",
        gap: 8,
    },
    toggleButton: {
        flex: 1,
        padding: 12,
        borderRadius: 8,
        borderWidth: 1,
        borderColor: "#d1d5db",
        backgroundColor: "#fff",
        alignItems: "center",
    },
    toggleButtonActiveSolana: {
        backgroundColor: "#16a34a",
        borderColor: "#16a34a",
    },
    toggleButtonActiveBase: {
        backgroundColor: "#2563eb",
        borderColor: "#2563eb",
    },
    toggleButtonActiveStellar: {
        backgroundColor: "#9333ea",
        borderColor: "#9333ea",
    },
    toggleText: {
        fontSize: 14,
        fontWeight: "500",
        color: "#111",
    },
    toggleTextActive: {
        color: "#fff",
    },
    input: {
        borderWidth: 1,
        borderColor: "#d1d5db",
        borderRadius: 8,
        padding: 12,
        fontSize: 14,
        color: "#111",
        backgroundColor: "#fff",
    },
    monoInput: {
        fontFamily: "monospace",
    },
    submitButton: {
        backgroundColor: "#000",
        padding: 16,
        borderRadius: 8,
        alignItems: "center",
        marginTop: 8,
    },
    submitButtonDisabled: {
        opacity: 0.5,
    },
    submitButtonText: {
        color: "#fff",
        fontSize: 16,
        fontWeight: "500",
    },
});