import 'dart:convert';
import 'package:flutter/material.dart';
import 'package:http/http.dart' as http;
import 'package:crossmint_flutter/crossmint_flutter_ui.dart';

const clientApiKey = String.fromEnvironment('CROSSMINT_CLIENT_API_KEY');
// Replace with your backend URL.
// On Android emulator use 10.0.2.2 instead of localhost.
// On a physical device use your machine's LAN IP or an ngrok tunnel.
const apiUrl = String.fromEnvironment('API_URL', defaultValue: 'http://10.0.2.2:3000');

class OnrampScreen extends StatefulWidget {
  const OnrampScreen({super.key});

  @override
  State<OnrampScreen> createState() => _OnrampScreenState();
}

class _OnrampScreenState extends State<OnrampScreen> {
  final _emailController = TextEditingController(text: 'user@example.com');
  final _walletController = TextEditingController();
  final _amountController = TextEditingController(text: '5');
  String _chain = 'solanaDevnet';
  bool _isLoading = false;
  Map<String, dynamic>? _order;

  Future<void> _createOrder() async {
    setState(() => _isLoading = true);
    try {
      final response = await http.post(
        Uri.parse('$apiUrl/api/create-order'),
        headers: {'Content-Type': 'application/json'},
        body: jsonEncode({
          'walletAddress': _walletController.text,
          'receiptEmail': _emailController.text,
          'amount': _amountController.text,
          'chain': _chain,
        }),
      );
      if (response.statusCode != 200) {
        throw Exception('Failed to create order');
      }
      final data = jsonDecode(response.body);
      setState(() {
        _order = {
          'orderId': data['order']['orderId'],
          'clientSecret': data['clientSecret'],
        };
      });
    } catch (e) {
      ScaffoldMessenger.of(context).showSnackBar(
        SnackBar(content: Text('Failed to create order: $e')),
      );
    } finally {
      setState(() => _isLoading = false);
    }
  }

  @override
  Widget build(BuildContext context) {
    if (_order != null) {
      return Scaffold(
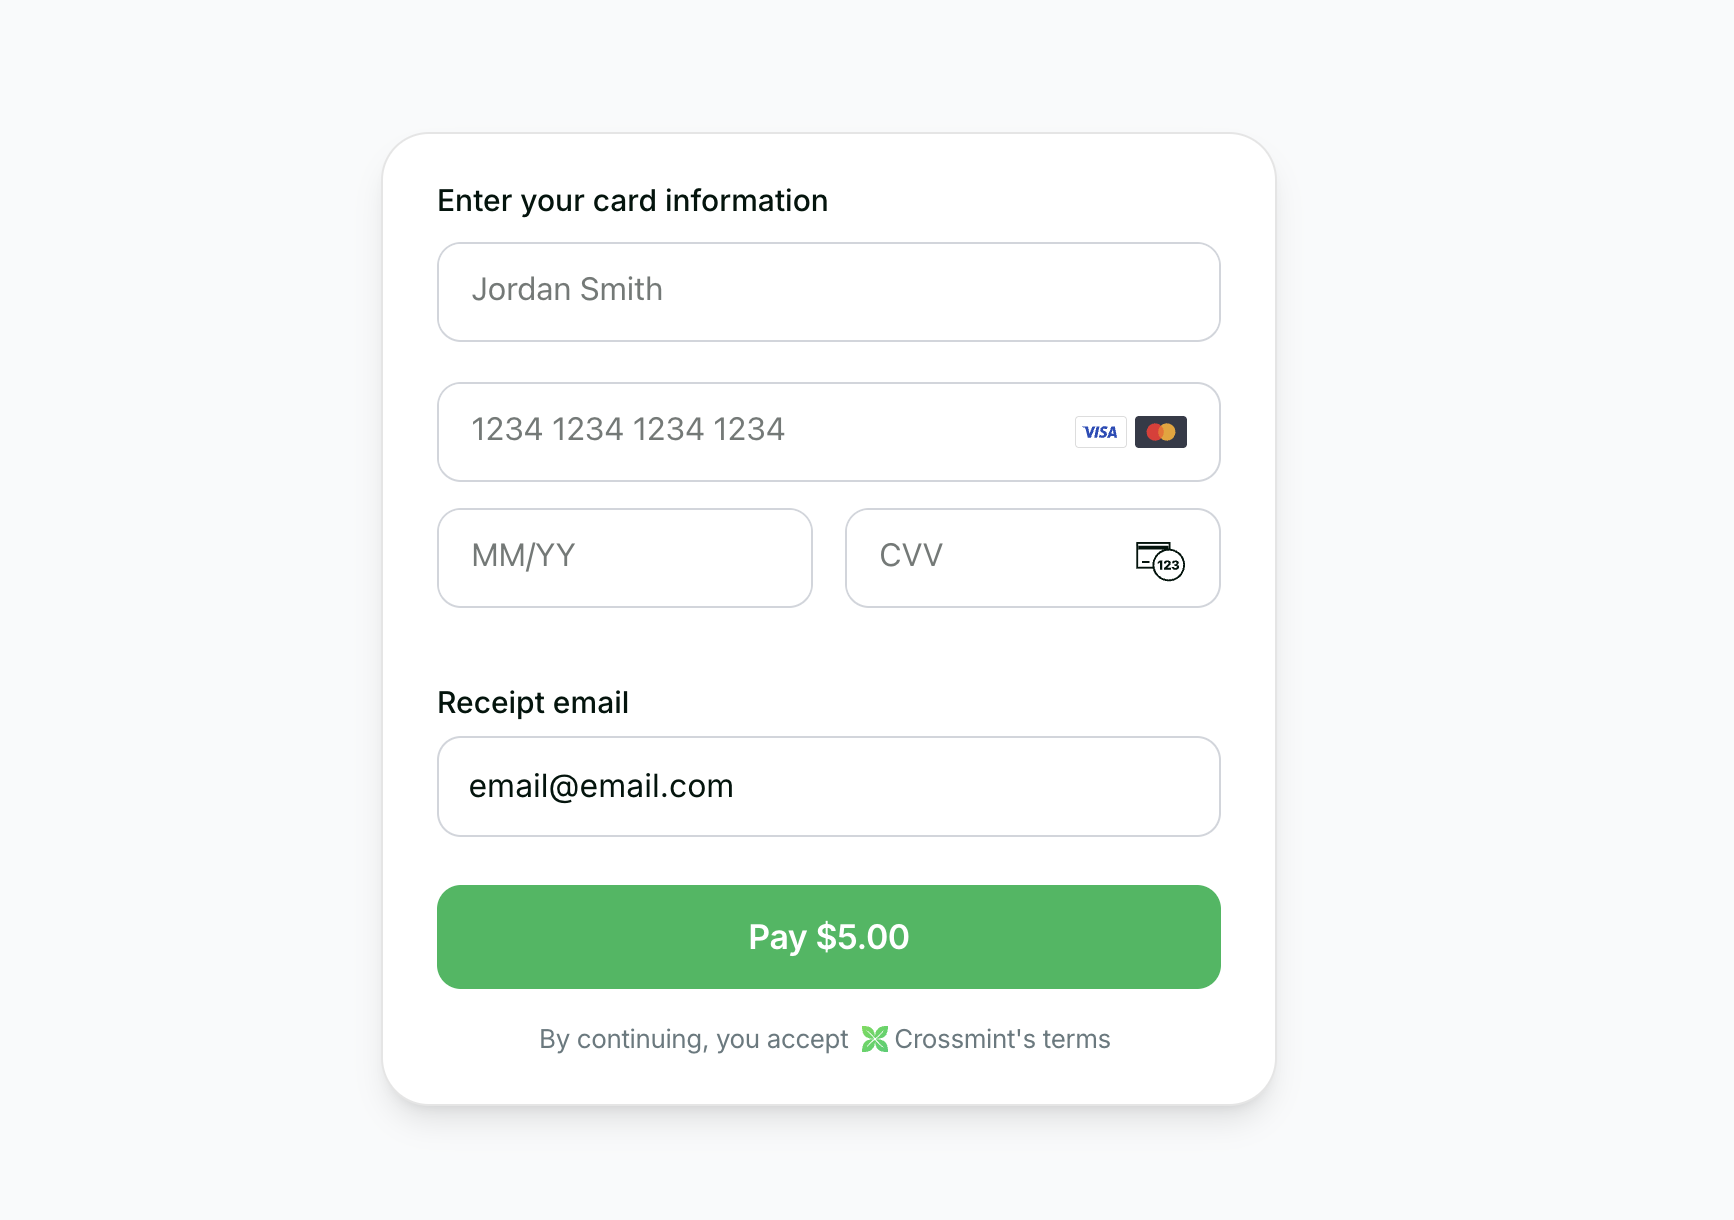
        body: CrossmintEmbeddedCheckout(
          apiKey: clientApiKey,
          config: CrossmintCheckoutConfig(
            order: CrossmintCheckoutExistingOrder(
              orderId: _order!['orderId']!,
              clientSecret: _order!['clientSecret'],
            ),
            payment: CrossmintCheckoutPayment(
              fiat: CrossmintCheckoutFiatPayment(enabled: true),
              crypto: CrossmintCheckoutCryptoPayment(enabled: false),
            ),
          ),
          onOrderUpdated: (order) => debugPrint('Order: $order'),
        ),
      );
    }

    return Scaffold(
      body: Padding(
        padding: const EdgeInsets.all(24),
        child: Column(
          crossAxisAlignment: CrossAxisAlignment.start,
          children: [
            const Text('Buy USDC',
                style: TextStyle(fontSize: 24, fontWeight: FontWeight.w600)),
            const SizedBox(height: 24),
            const Text('Network', style: TextStyle(fontWeight: FontWeight.w500)),
            const SizedBox(height: 8),
            SegmentedButton<String>(
              segments: const [
                ButtonSegment(value: 'solanaDevnet', label: Text('Solana')),
                ButtonSegment(value: 'baseSepolia', label: Text('Base')),
                ButtonSegment(value: 'stellarTestnet', label: Text('Stellar')),
              ],
              selected: {_chain},
              onSelectionChanged: (v) => setState(() => _chain = v.first),
            ),
            const SizedBox(height: 20),
            TextField(
              controller: _emailController,
              decoration: const InputDecoration(
                labelText: 'Email',
                border: OutlineInputBorder(),
              ),
            ),
            const SizedBox(height: 12),
            TextField(
              controller: _walletController,
              decoration: const InputDecoration(
                labelText: 'Recipient Wallet',
                border: OutlineInputBorder(),
              ),
            ),
            const SizedBox(height: 12),
            TextField(
              controller: _amountController,
              decoration: const InputDecoration(
                labelText: 'Amount (USD)',
                border: OutlineInputBorder(),
              ),
              keyboardType: TextInputType.number,
            ),
            const SizedBox(height: 16),
            SizedBox(
              width: double.infinity,
              child: ElevatedButton(
                onPressed: _isLoading ? null : _createOrder,
                style: ElevatedButton.styleFrom(
                  backgroundColor: Colors.black,
                  padding: const EdgeInsets.all(16),
                ),
                child: _isLoading
                    ? const CircularProgressIndicator(color: Colors.white)
                    : const Text('Continue to Checkout',
                        style: TextStyle(color: Colors.white, fontSize: 16)),
              ),
            ),
          ],
        ),
      ),
    );
  }

  @override
  void dispose() {
    _emailController.dispose();
    _walletController.dispose();
    _amountController.dispose();
    super.dispose();
  }
}